Raspberry Pi
Driven by the market for ultra-portable laptops and tables, energy-efficient processors have become more capable and cheaper. As a consequence, small, general-purpose computers have become available at attractive prices.
Large suppliers have such offerings targeting the edge market. For example, Intel has the NUC (Next Unit of Computing) line of machines and HPE has the Edgeline series.
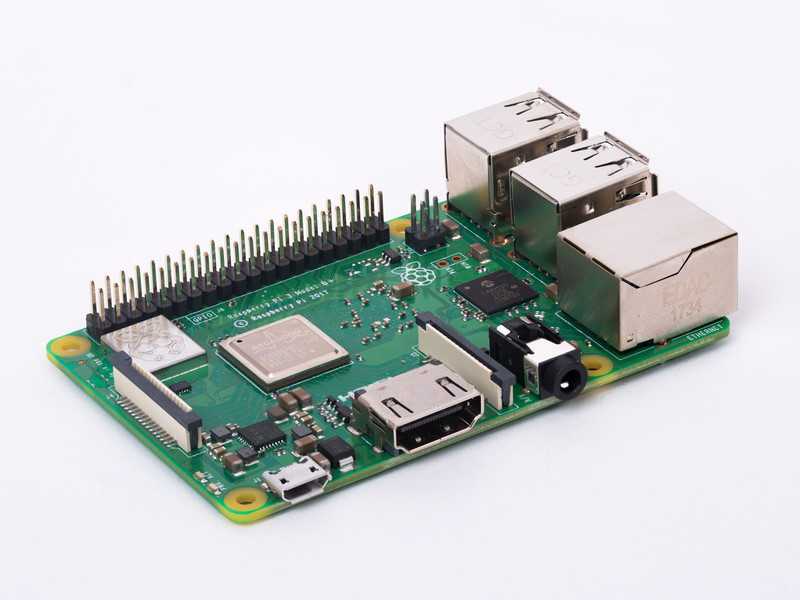
Arguably, the best known examples are the Raspberry Pi (RPi) machines. The RPi 3B+ has a retail price of 35 USD:
- ARMv8 processor at 1.4 GHz,
- 1 GB RAM
- 2.4 and 5 GHZ wifi
- Bluetooth BLE
- Gigabit ethernet
- Connectors: HDMI, USB, camera port, DSI display port
This is a machine capable of running standard Linux operating systems well and having enough computing power for multiple, light-weight application. Recently, the RPi 4 has been announced at a similar price point, with significant upgrades and support for up to 4 GB of RAM.
NUC, Edgeline, and Raspberry Pi machines make attractive machines for edge devices because they run standard operating systems, can communicate with a variety of sensors/actuators and, most importantly, support standard application deployment environments, like Docker.
You will configure a Raspberry Pi and use it to run you customized webserver. Initially, you will do this manually. Afterwards, you will use a couple of edge management platforms for comparison.
Boot Disk
The RPi 3B+ boots from a microSD card. This card contains the complete operating system and acts as the “hard disk” for the system. There are several operating systems that support the RPi. The native operating system is Raspbian, which is based on Debian. We will use Ubuntu Server 18.04.
To create the boot disk, you will need to have a machine with an SD card reader. If your machine doesn’t have one, work with another student or the instructor.
Download the image from the Ubuntu 18.04 release page. Although both the 32-bit and 64-bit ARM images will work on the RPi, use the image for 64-bit ARM processor. (To avoid slow downloads, this image is also available from the instructor on a USB key.)
Download and install Balena Etcher. This application greatly simplifies creating the boot disk. It runs on Mac OS, Windows, and Linux. (If you’re using Mac OS Catalina, see this issue for a workaround.)
Use Balena Etcher to flash the Ubuntu Server 18.04 image to the SD card. Once this is done, insert the microSD card into the RPi, connect the ethernet cable and power up the machine.
Use the arp-scan, nmap or other command to find the IP address of your machine. (Or work with the network administrator to find the address.)
Configuration
The operating system that you have installed is a very minimal version of Ubuntu 18.04. You will need to upgrade the OS and install some additional software.
First, log into your machine:
ssh ubuntu@YOUR_RPI_IP
change YOUR_RPI_IP to the address for your machine. The initial username and initial password are both “ubuntu”. The OS will force you to change the password on your first login. Change the value to what your want, but remember the password that you choose!
Once you’ve changed the password, you will have to log back into your machine.
From the “ubuntu” account, switch to the “root” account with the command sudo su -.
Upgrade the operating system:
apt-get update
apt-get upgrade -y
Remove any old versions of Docker:
apt-get remove -y docker docker-engine docker.io containerd runc
It is OK if any of the packages are not installed. Then install the Docker community edition repository for ARM64:
apt-get install -y \
    apt-transport-https \
    ca-certificates \
    curl \
    gnupg-agent \
    software-properties-common

curl -fsSL https://download.docker.com/linux/ubuntu/gpg | sudo apt-key add -

add-apt-repository \
   "deb [arch=arm64] https://download.docker.com/linux/ubuntu \
   $(lsb_release -cs) \
   stable"
Install Docker and add “ubuntu” to the “docker” group:
apt-get update
apt-get install -y docker-ce docker-ce-cli containerd.io

usermod --append --groups docker ubuntu

docker swarm init
Reboot the machine:
reboot
When the machine becomes visible on the network, log into the machine again as “ubuntu” and run the command:
docker container ls
This should return an empty list and no error. If so, everything is configured correctly.
Run Webserver
Now running your customized webserver should be as easy as running it from your work machine.
Log into your RPi as “ubuntu”. Then run the command:
docker run -p 80:80 -d DOCKER_ID/example-webserver
changing DOCKER_ID to your Docker Hub ID. Verify that your custom webserver is accessible from http://YOUR_RPI_IP. (Note that this is available on port 80, rather than port 8080.)
At this point, you now have your RPi correctly installed and configured. You’re able to run Docker container on the RPi and access services remotely.