Exercises
In these exercises, you will first use the nuvla.io service to deploy applications into a shared Docker Swarm cluster, showing how applications can be deployed through this service to cloud infrastructures.
You will then create a simulated edge device, register this with nuvla.io, and then deploy applications into the device, showing how edge devices can be incorporated into a hybrid infrastructure.
Setup
Create an account on nuvla.io. Let your instructor know when you have created your account, so that you can be added to the appropriate group.
Sanity Checks
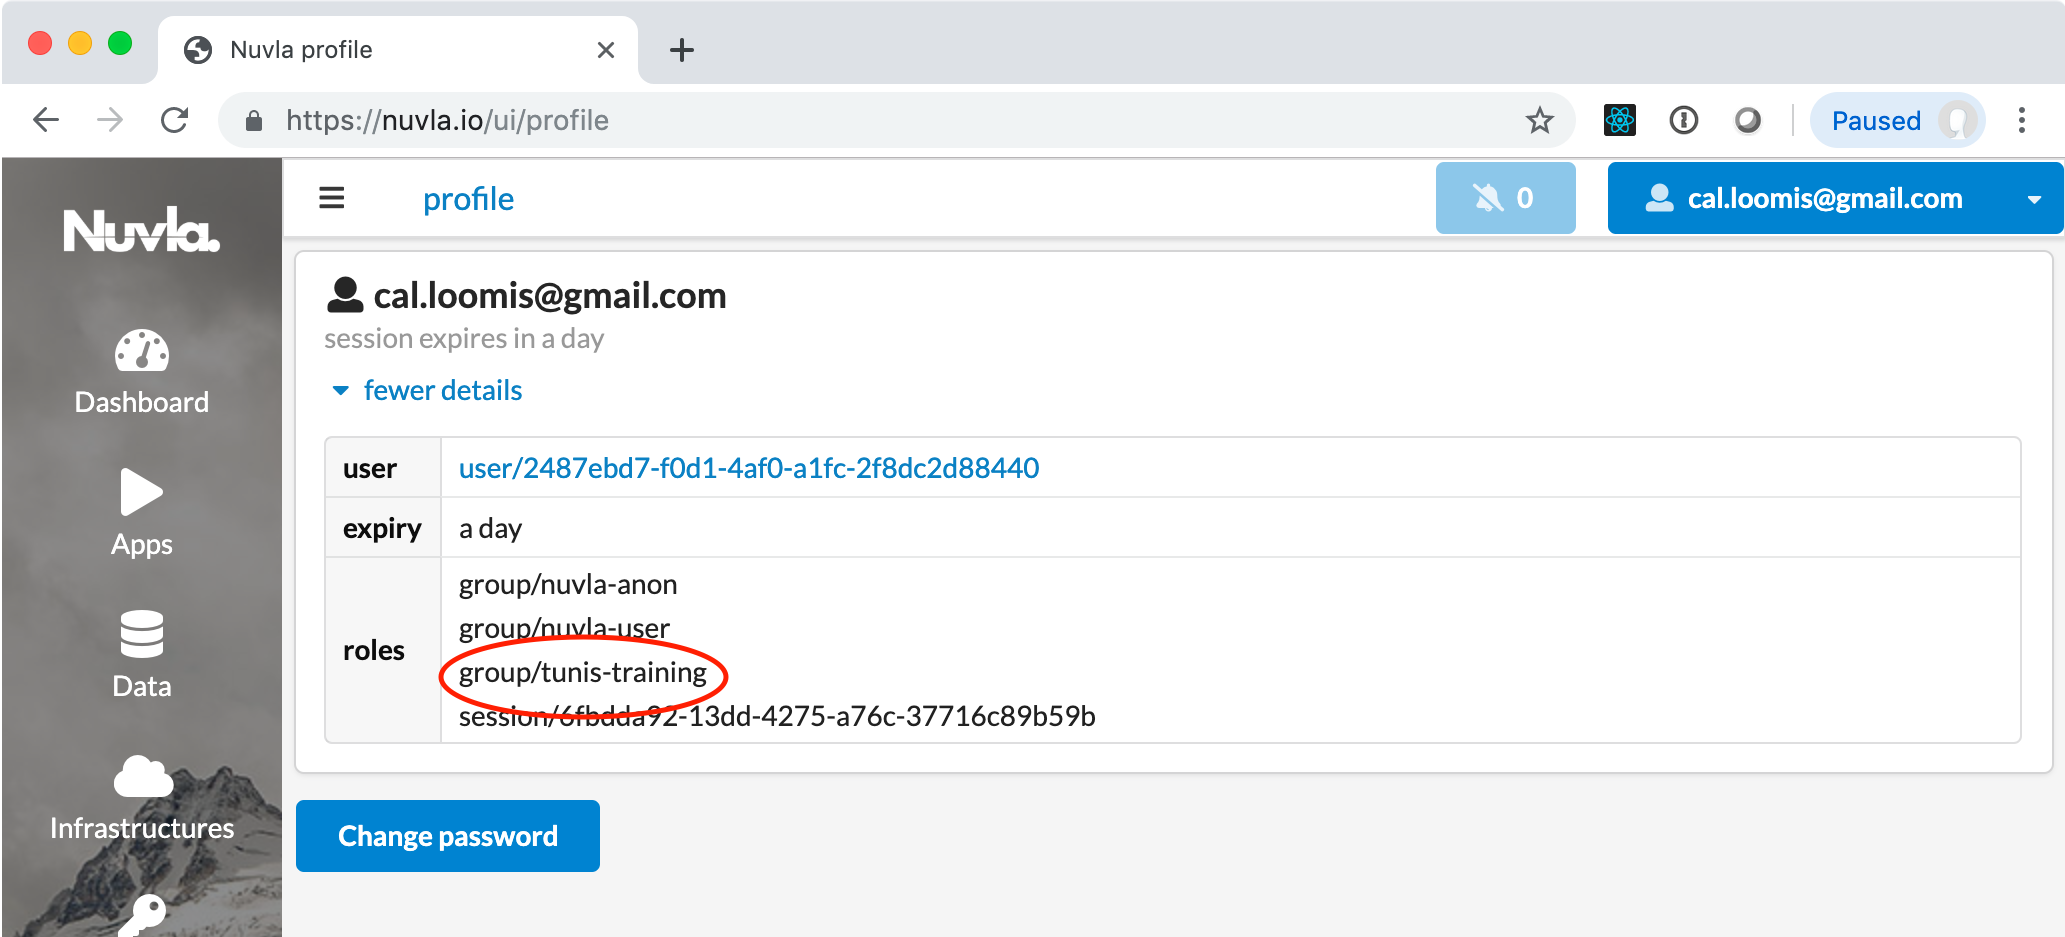
After you have been added to the group, log out and log back in to nuvla.io. When you are logged in, verify that you have the role “group/tunis-training” in your session. Click on your username in the upper, right-hand corner to see your session information.
Cloud Applications
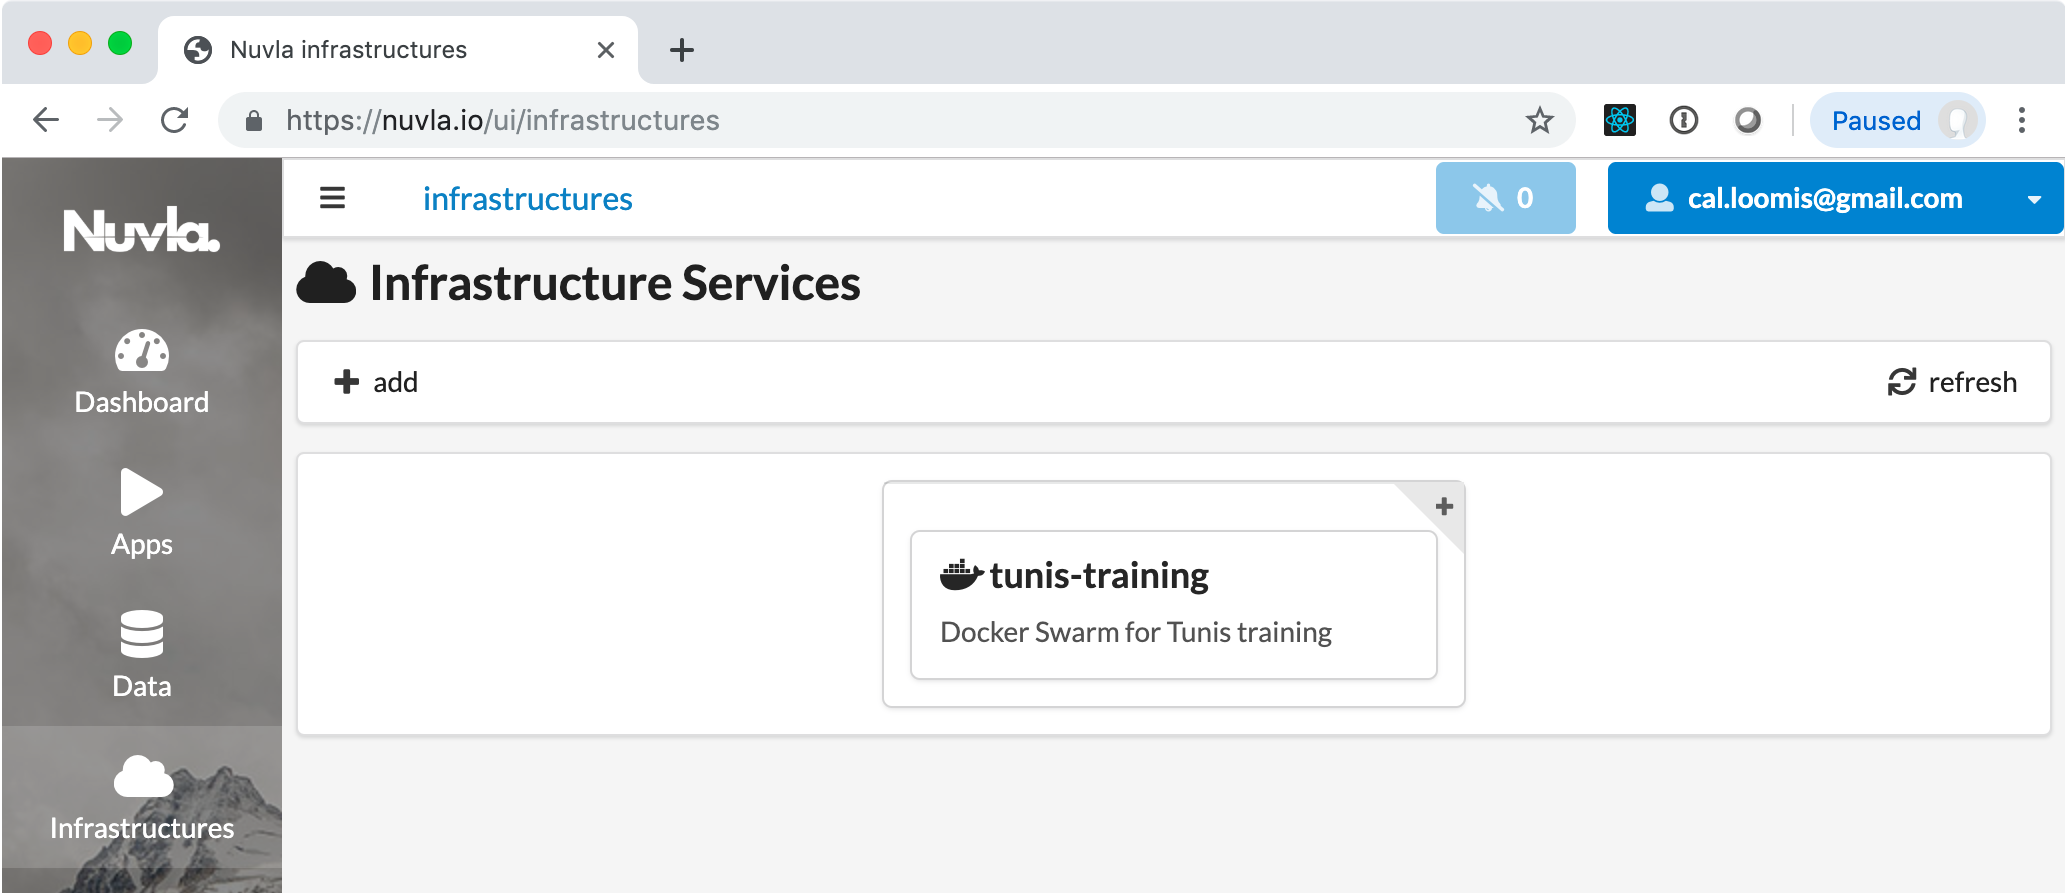
On nuvla.io, navigate to the “Infrastructures” by clicking on the icon in the menu bar on the left. You should see a Docker Swarm infrastructure (“tunis-training”) that has been deployed for this training. This is a 3-node Docker Swarm cluster that has been deployed via SlipStream on nuv.la to Exoscale. Clicking on the card, will show the details for the Docker Swarm cluster.
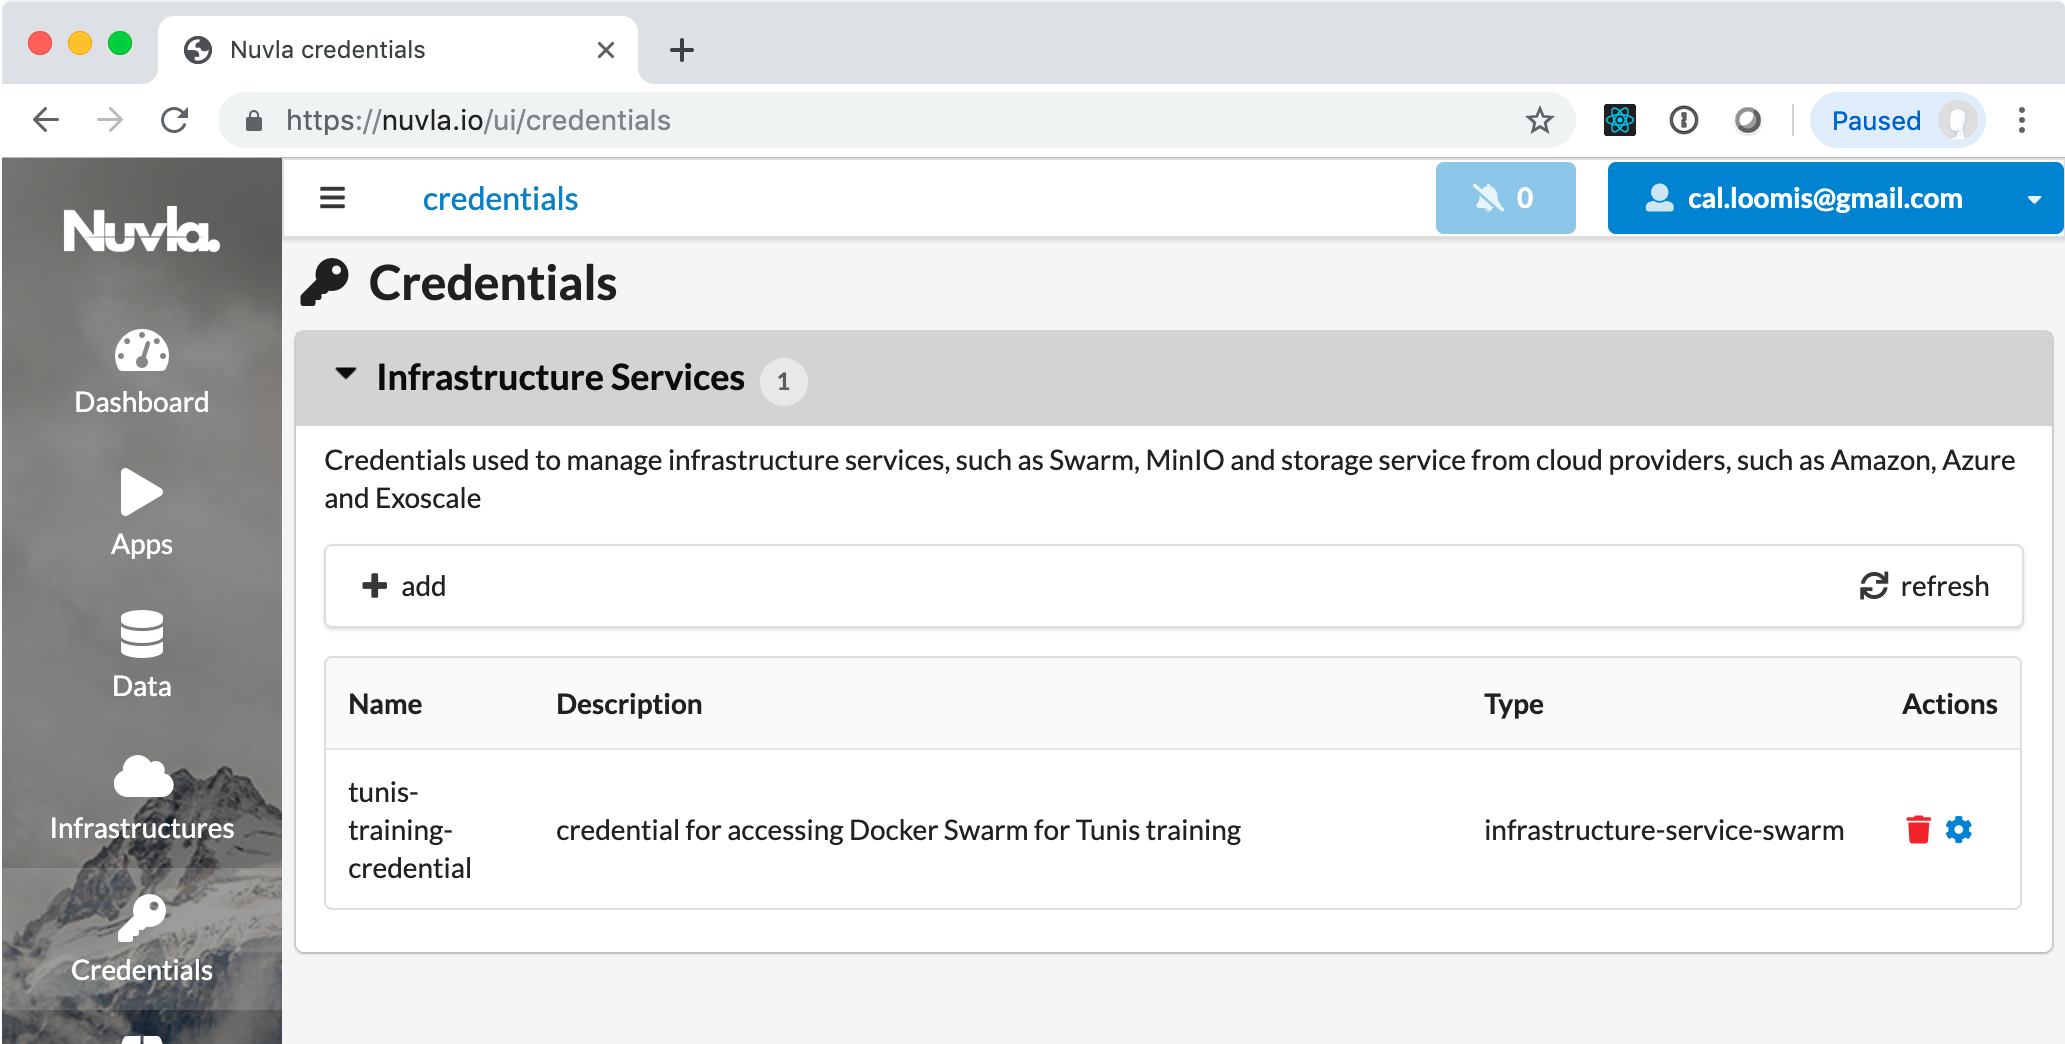
Similarly, you should also see a credential that is linked to this infrastructure and that grants you access. Click on the “Credentials” link on the left.
Navigate to the “Apps” section. Here you will find a number of applications that can run on the cloud or in edge devices. Try deploying some of these applications to be sure that they work.
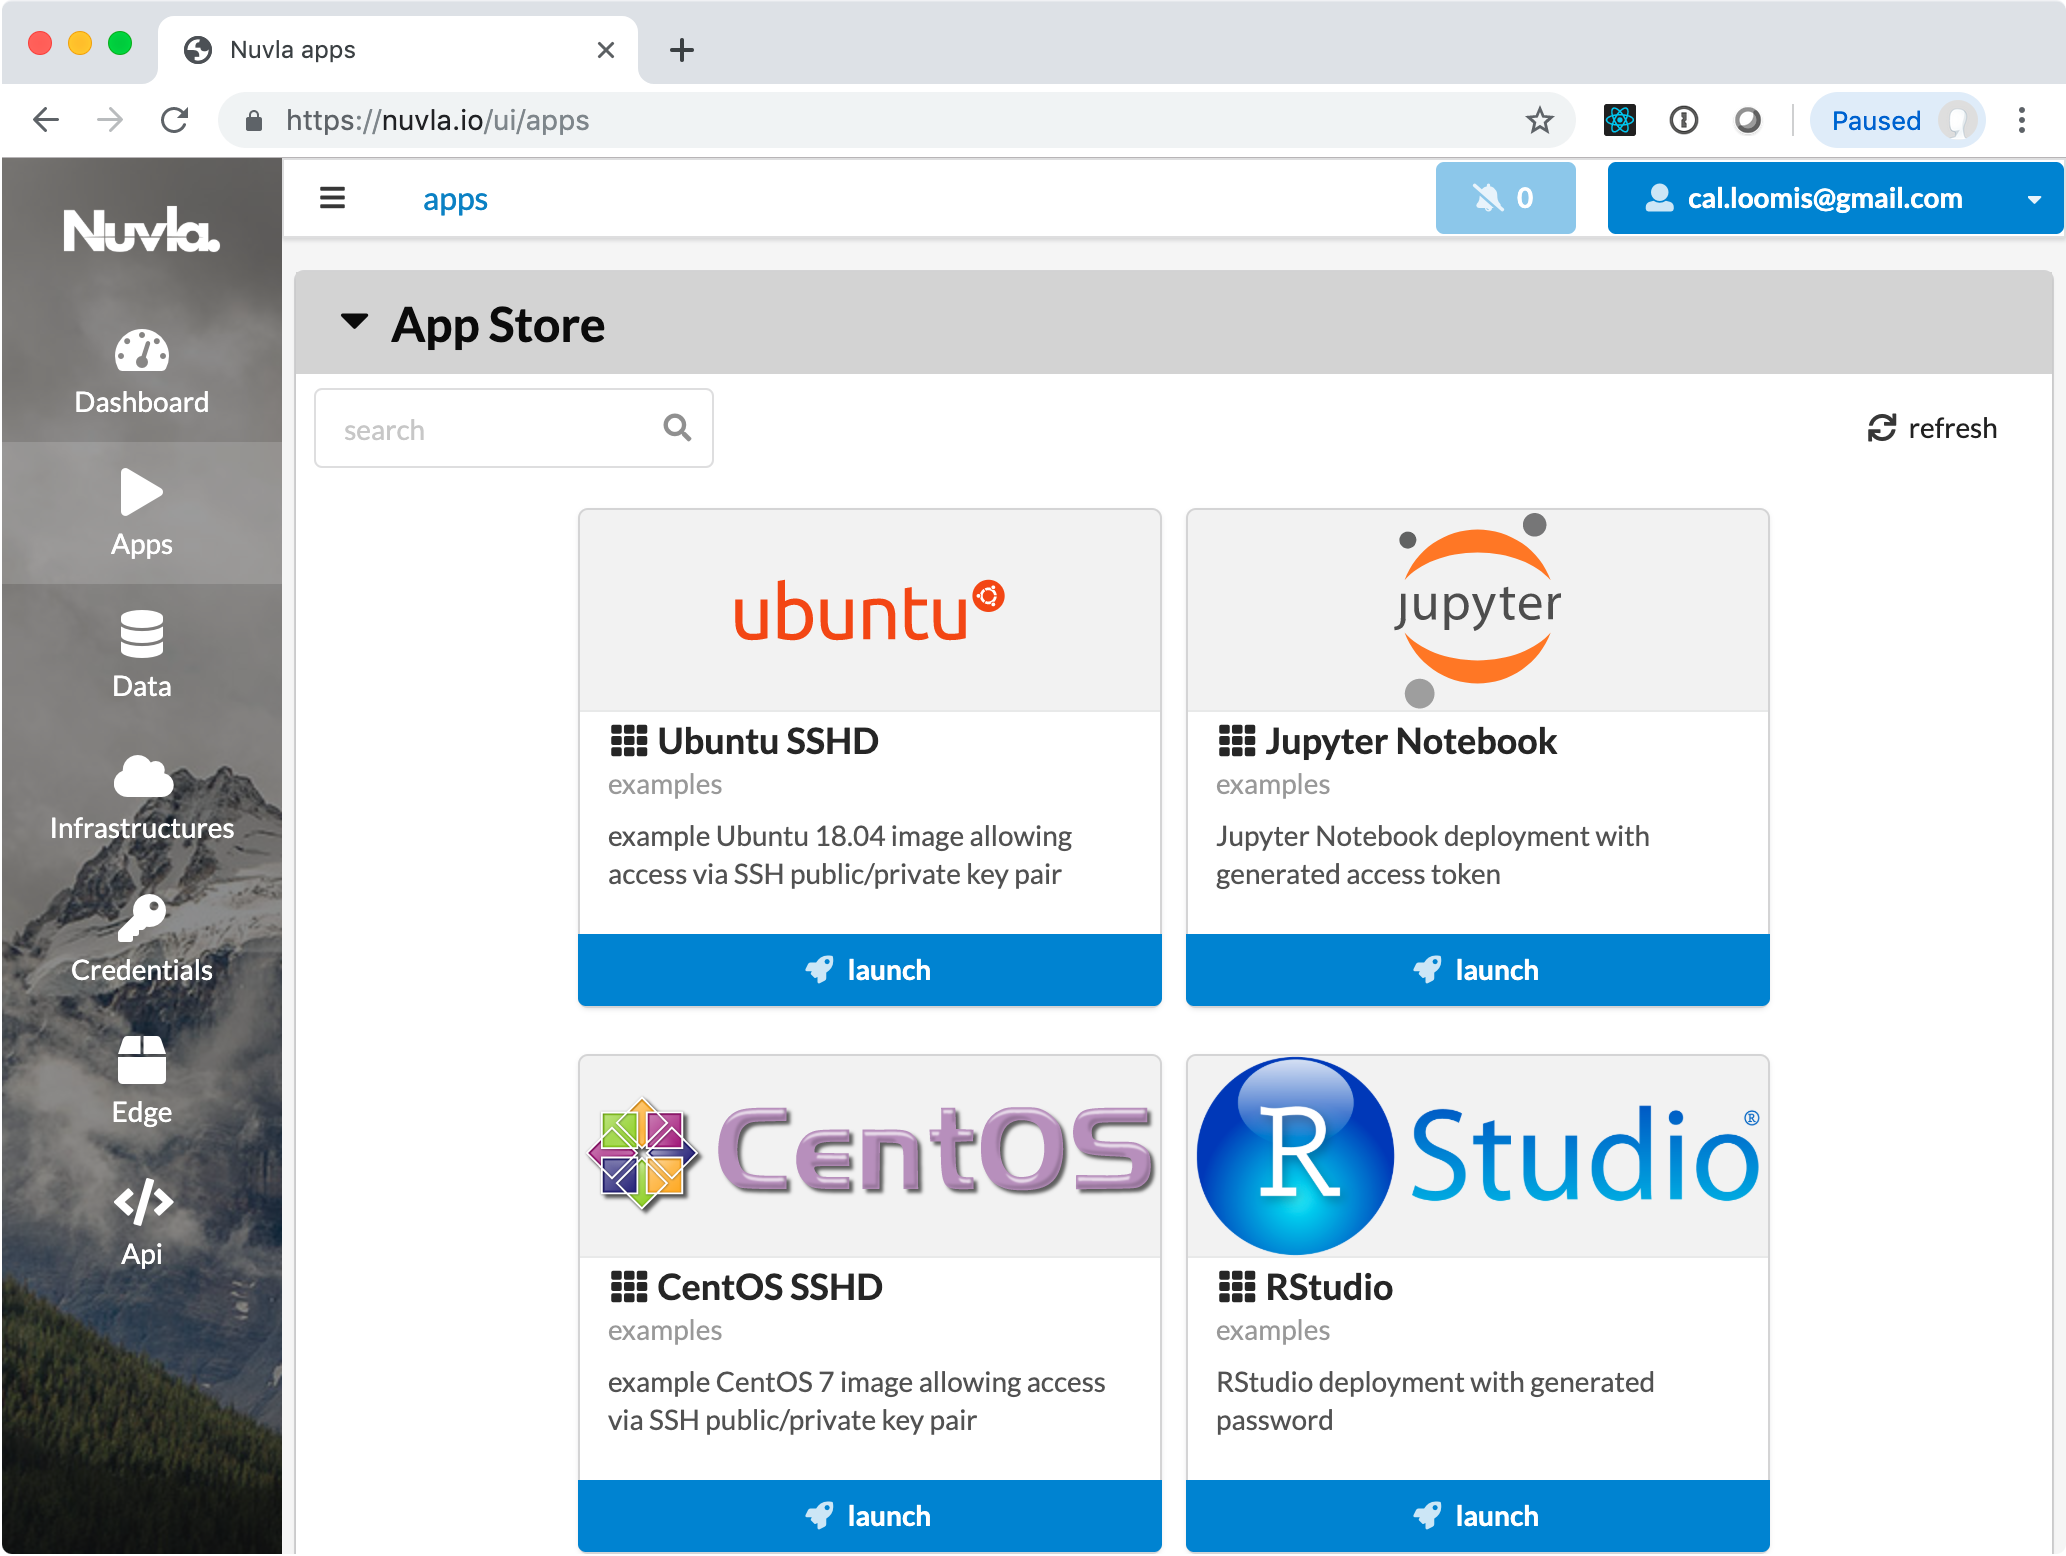
Clicking “launch” will start the application and redirect you to the “Dashboard” section. Click on the card for more details on any deployment. You can control the application with the stop/trash icons or action links when they appear.
Most applications will provide a direct link to the application, which will appear at the bottom of the card in green.
The applications to try are:
-
Ubuntu SSHD: Provide your SSH key so that you can log into the container.
-
CentOS SSHD: Provide your SSH key so that you can log into the container.
-
RStudio: Log in to the deployed application using “rstudio” as the username and by getting the password value from the details page.
-
Jupyter Notebook: Just clicking the link should take to you the Jupyter console.
-
RabbitMQ: You can log into the management console by using “guest/guest”. You might look at some of the other links provided.
-
My first application: This shows how a full, multi-component application can be defined. It also shows how Docker configs, secrets, and environmental variables can be used.
-
Video Analysis Demo: This requires a video camera attached to a physical NuvlaBox. This application won’t work here.
After you’ve deployed some of these applications, verify that you can also stop and clean up the applications.
NuvlaBox
You will now create a (virtual) NuvlaBox to show how edge devices are registered with the system and how applications can be deployed to those devices.
-
Log into nuvla.io.
-
Navigate to the “edge” section of the UI.
-
Click on “add” and then on “NuvlaBox” in the dialog. This creates a new nuvlabox resource.
-
Click on “Copy your NuvlaBox ID”.
-
Log into nuv.la.
-
Navigate to the virtual NuvlaBox component.
-
Deploy this component with “nuvla.io” in the
nuvla_hostfield and with your nuvlabox id in thenuvlabox_idfield. -
Follow the deployment, both on nuv.la and on the “edge” page on nuvla.io. You can also see the details by clicking on the NuvlaBox id.
-
When the deployment reaches the “Ready” state, you should see that the nuvlabox is in the “COMMISSIONED” state.
At this point, you should be able to deploy applications to the NuvlaBox. Do that and verify that they work.
You can remove a NuvlaBox by “decommissioning” it. Click on the appropriate icon/action. NOTE: This currently fails because of a bug that will be fixed shortly. Afterwards, you can terminate the virtual NuvlaBox with nuv.la.