Applications
After the previous exercises, you understand how to create virtual machines and store data as objects on the cloud. Although being able to allocate resource dynamically is a clear benefit, a VM with a minimal operating system by itself isn’t very useful. To really benefit, the VMs need to be transformed into useful transient or permanent services.
As examples, you will create a web server with nginx, a standalone Docker machine, and a standalone Anaconda server. Afterwards, the last two will be transformed into multi-VM clusters.
The descriptions below use a Ubuntu 18.04 VM. However, the exercises can also be completed on CentOS 7 or another Linux distribution. The process in all cases is identical, but you will need to adjust some of the details for the operation system you choose.
Web Server
If you followed the exercises for system administration, you will already know how to install a web server and check that it is running. An abbreviated version of the process for Ubuntu 18.04 is repeated here:
- Start and log into an Ubuntu 18.04 VM
- Update APT cache:
apt update - Install nginx:
apt install -y nginx - Ensure it is enabled:
systemctl enable nginx - Ensure it is started:
systemctl start nginx
At this point, the command curl http://localhost should print out the raw HTML home page.
Ensure that you can also see the home page from outside of the machine by visiting the URL “http://ipv4-address”. You can find the IPv4 address from Exoscale or by using the command ifconfig inside the machine.
If you cannot see the home page from outside of the machine, check:
-
The security group is properly configured to allow access on port 80 (HTTP). You’ll probably also want port 443 (HTTPS), although not technically necessary here.
-
The firewall on the VM is not blocking network traffic. The easiest is to disable the firewall
systemctl stop ufw.
If the page is not visible even after checking these points, ensure that nginx is running and not showing any errors (try journalctl). You can also take a look at the nginx log files: /var/log/nginx/{access,error}.log.
Find and look through the nginx configuration. Nginx follows the usual convention and puts its configuration into the directory /etc/ngins.
Can you find the configuration for the default “site” and the location of the default home page?
Edit the existing home page to make sure that changes are visible through the web server. (If you didn’t find it in the configuration, the root of the default web server is /var/www/html.)
You can go further and try replacing the default “site” with your own “site” configuration. You’ll need to understand the layout of the nginx configuration and how sites are created.
Docker
Docker is a container management system that is very popular with developers and system administrators alike. Although an oversimplification, containers can be viewed as lightweight “virtual machines” that start and stop in seconds. The Docker Hub contains a large number of pre-built images for common services, avoiding the need for manual software installation.
You will install the Docker system on an Ubuntu 18.04 virtual machine and ensure that it can be used locally. Details on Docker, including remote access, will be provided later in the course.
The process for deploying Docker is very similar to deploying nginx.
- Start and log into an Ubuntu 18.04 VM
- Update APT cache:
apt update - Install Docker:
apt install -y docker - Ensure it is enabled:
systemctl enable docker - Ensure it is started:
systemctl start docker
As a sanity check, try to list the running Docker containers:
$ docker container ls
CONTAINER ID        IMAGE               COMMAND             CREATED             STATUS             PORTS               NAMES
The command worked and provides an empty list of the currently running containers. As you’ve not started any containers, this is normal.
Now run the “hello world” container:
$ docker run hello-world

Unable to find image 'hello-world:latest' locally
latest: Pulling from library/hello-world
1b930d010525: Pull complete
Digest: sha256:6540fc08ee6e6b7b63468dc3317e3303aae178cb8a45ed3123180328bcc1d20f
Status: Downloaded newer image for hello-world:latest

Hello from Docker!
This message shows that your installation appears to be working correctly.

To generate this message, Docker took the following steps:
 1. The Docker client contacted the Docker daemon.
 2. The Docker daemon pulled the "hello-world" image from the Docker Hub.
    (amd64)
 3. The Docker daemon created a new container from that image which runs the
    executable that produces the output you are currently reading.
 4. The Docker daemon streamed that output to the Docker client, which sent it
    to your terminal.

To try something more ambitious, you can run an Ubuntu container with:
 $ docker run -it ubuntu bash

Share images, automate workflows, and more with a free Docker ID:
 https://hub.docker.com/

For more examples and ideas, visit:
 https://docs.docker.com/get-started/
Your output should be nearly identical to the above result. Again, the details of docker will be covered later, but here’s a short summary of what happened:
- Docker searches in the local cache for the “hello-world” image and doesn’t find it.
- Docker pulls (downloads) the image “library/hello-world” from Docker Hub.
- Docker runs the image, which then spits out the rest of the output.
Let’s be a bit more ambitious and try to run a container containing nginx:
$ docker run -d -p 80:80 nginx

Unable to find image 'nginx:latest' locally
latest: Pulling from library/nginx
f5d23c7fed46: Pull complete
918b255d86e5: Pull complete
8c0120a6f561: Pull complete
Digest: sha256:eb3320e2f9ca409b7c0aa71aea3cf7ce7d018f03a372564dbdb023646958770b
Status: Downloaded newer image for nginx:latest
fad3a290dd77a2dcbb4d55249da34e9f71037e033e6d67183e93b3864f4ccd04
Again, Docker has downloaded the image from the hub and ran it. The -d option runs the container as a daemon. The command returns, but the container is running in the background. You can see this with:
$ docker container ls

CONTAINER ID        IMAGE               COMMAND                  CREATED             STATUS              PORTS                NAMES
fad3a290dd77        nginx               "nginx -g 'daemon of…"   9 seconds ago       Up 7 seconds        0.0.0.0:80->80/tcp   thirsty_hertz
You can check that the webserver is running by visiting “http://ipv4-address”. You should see the familiar nginx welcome page.
To stop the container, execute docker container rm fad3a290dd77, where the last argument is the container ID. Verify that the web server is no longer there (both from docker and from a browser).
Anaconda
Anaconda is platform that supports data science and data science collaboration. You will deploy anaconda onto an Ubuntu 18.04 virtual machine and ensure that it starts.
Installation information for Linux can be found on the anaconda website. It will instruct you to download an installer script and run it.
Assuming that you’ve deployed an Ubuntu 18.04 VM and are logged into it as the ubuntu user, the installation process is:
# download installation script
wget -nd https://repo.anaconda.com/archive/Anaconda3-2019.07-Linux-x86_64.sh

# make it executable
chmod a+x *.sh

# run it
./Anaconda3-2019.07-Linux-x86_64.sh
You’ll need to respond to a few questions to complete the installation. Once the installation is complete, you can test that the installation worked.
Logout and log back into the machine. When you start a python interpreter, it should contain a reference to anaconda:
(base) ubuntu@anaconda:~$ python
Python 3.7.3 (default, Mar 27 2019, 22:11:17)
[GCC 7.3.0] :: Anaconda, Inc. on linux
Type "help", "copyright", "credits" or "license" for more information.
>>>
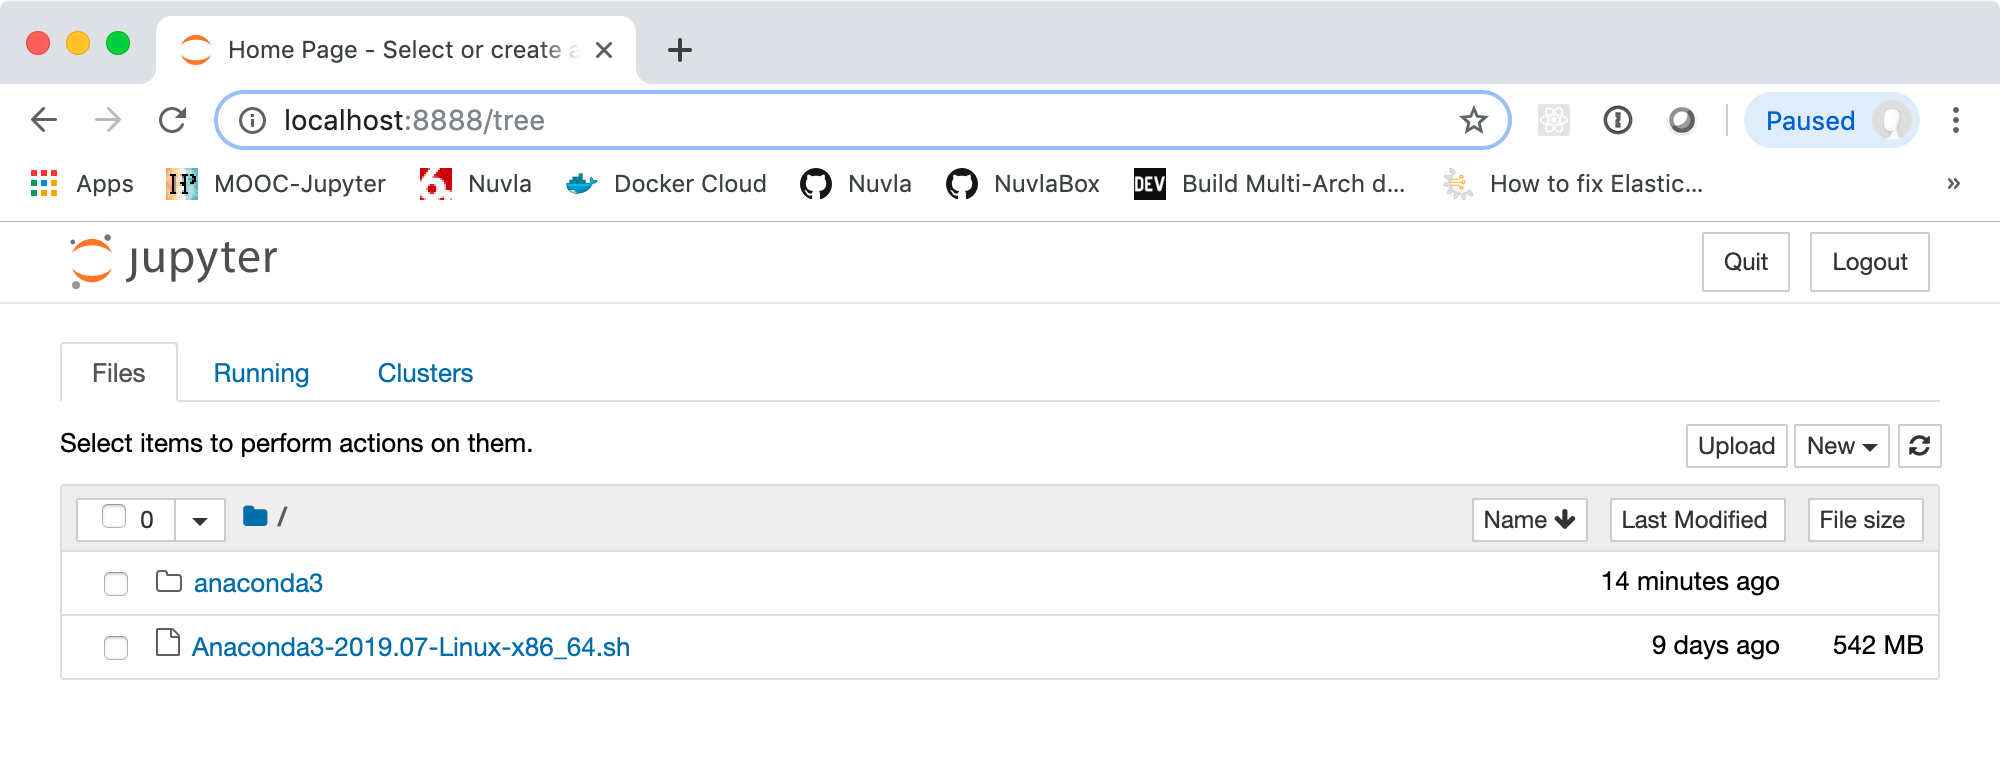
A Jupyter notebook can be started with the command:
$ jupyter-notebook

[I 20:36:28.436 NotebookApp] Writing notebook server cookie secret to /home/ubuntu/.local/share/jupyter/runtime/notebook_cookie_secret
[I 20:36:28.807 NotebookApp] JupyterLab extension loaded from /home/ubuntu/anaconda3/lib/python3.7/site-packages/jupyterlab
[I 20:36:28.808 NotebookApp] JupyterLab application directory is /home/ubuntu/anaconda3/share/jupyter/lab
[I 20:36:28.810 NotebookApp] Serving notebooks from local directory: /home/ubuntu
[I 20:36:28.810 NotebookApp] The Jupyter Notebook is running at:
[I 20:36:28.810 NotebookApp] http://localhost:8888/?token=3cd85d84cc1fb0a7c91f092411bb0487cb9c2aca013265a9
[I 20:36:28.810 NotebookApp]  or http://127.0.0.1:8888/?token=3cd85d84cc1fb0a7c91f092411bb0487cb9c2aca013265a9
[I 20:36:28.810 NotebookApp] Use Control-C to stop this server and shut down all kernels (twice to skip confirmation).
[W 20:36:28.816 NotebookApp] No web browser found: could not locate runnable browser.
[C 20:36:28.816 NotebookApp]

    To access the notebook, open this file in a browser:
        file:///home/ubuntu/.local/share/jupyter/runtime/nbserver-14046-open.html
    Or copy and paste one of these URLs:
        http://localhost:8888/?token=3cd85d84cc1fb0a7c91f092411bb0487cb9c2aca013265a9
     or http://127.0.0.1:8888/?token=3cd85d84cc1fb0a7c91f092411bb0487cb9c2aca013265a9
The notebook will only be accessible from the localhost; it will not be directly accessible over the network. One method to make it accessible from your laptop (or local virtual machine) is to create an SSH tunnel.
From a terminal on your laptop, create the SSH tunnel with the command:
$ ssh -N -L 8888:localhost:8888 ubuntu@vm-ipv4-address
Warning: Permanently added '185.19.29.228' (ECDSA) to the list of known hosts.
This command will not return; it is maintaining the open tunnel from your laptop to the remote machine. You can now access the notebook on the given URLs from your laptop.
To clean up, you need to cancel (control-C) the SSH tunnel and the remote Jupyter notebook. Terminate the virtual machine if your done testing anaconda.